Workshop Journal: StevieM3’s E46 M3 Vanos Rebuild
We had the pleasure of having StevieM3’s (from Total M Cars and M3Cutters) lovely Mineralsilber E46 M3 in for a full Vanos overhaul last week. Very late (March ’06) built car, quite low mileage and well looked after. It has a Scorpion backbox but is otherwise standard drivetrain-wise, for now. Steve opted for the full works – a full Vanos rebuild with rattle repair. The parts list for this is as follows:
Beisan Systems BS021 S54 Vanos Seal Repair Kit
Beisan Systems BS022 S54 Vanos Rattle Repair Kit
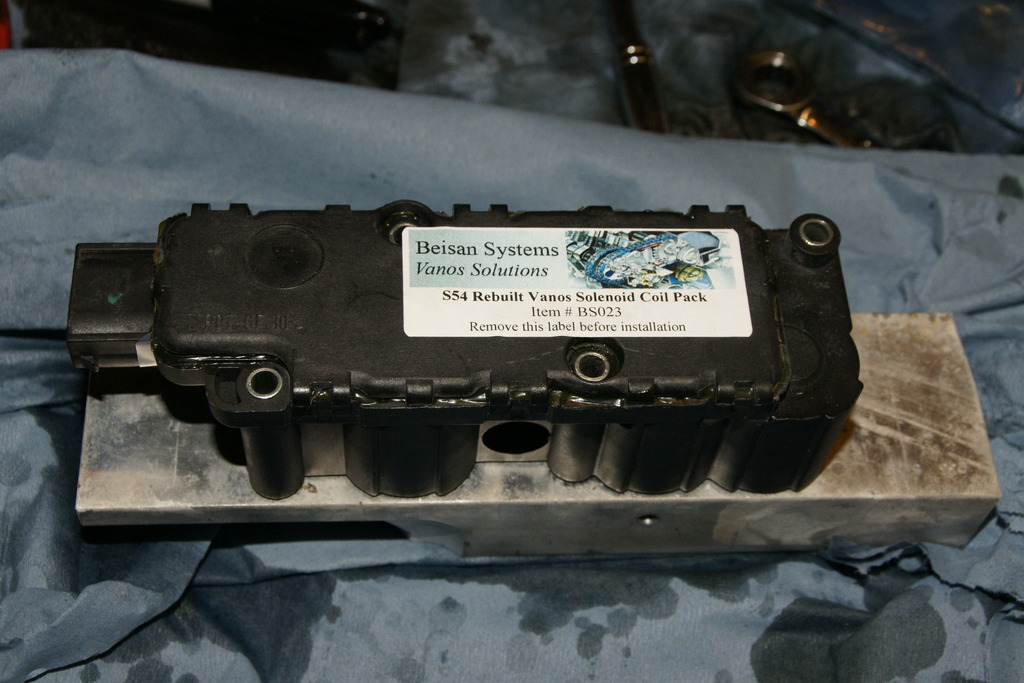
Beisan Systems BS023 S54 Rebuilt Vanos Solenoid Coil Pack
Beisan Systems BS024 S54 Vanos Sealing Plate Repair Kit
Hack Engineering machined oil pump disc
BMW Vanos Gasket
BMW Rocker Cover Gasket
BMW Valve Cover Stud Grommet (x2)
BMW Vanos Oil Feed Crush Washer (x2)
BMW Rocker Cover Oil Pipe Crush Washer (x2)
BMW Cam Sprocket Sleeve Bolts (updated design – x12)
BMW Cam Hub Bolts (x12)
BMW Updated Solenoid Pack Securing Bolts
BMW Vanos Microfilter
BMW S62 Diaphragm Spring (x2)
BMW Upper Chain Tensioner Guide Refresh Kit
Also required:
Beisan Systems BS095 S54/S62 Vanos Rattle Tools
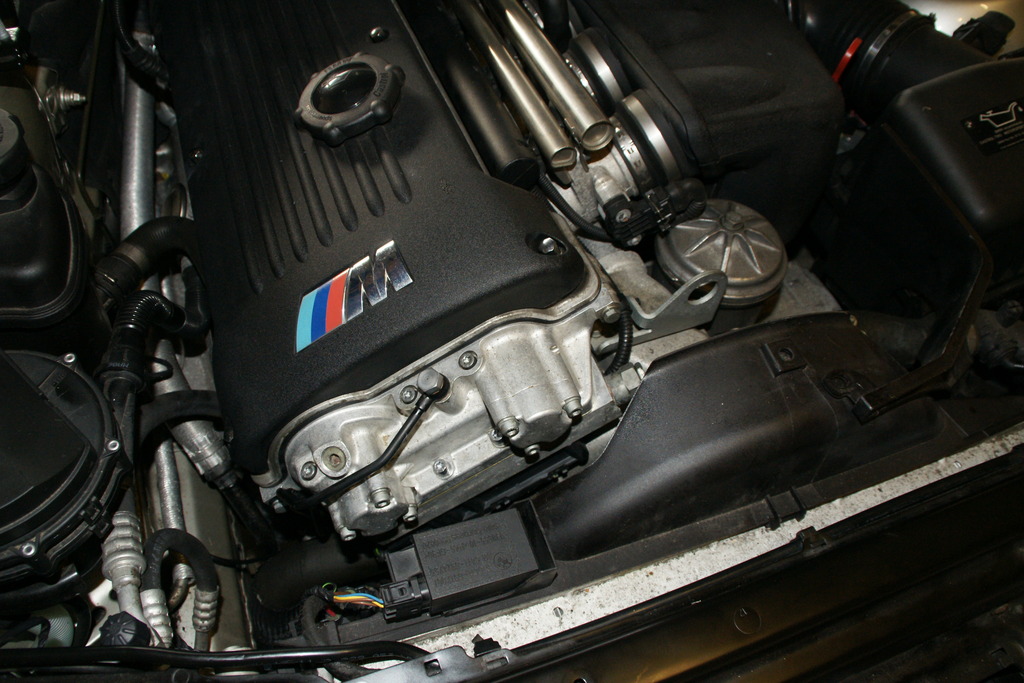
Pics below – use of the flash unfortunately makes everything look dirty. We’re extremely careful and everything is properly cleaned before being re-assembled using the proper Castrol Edge 10w60.
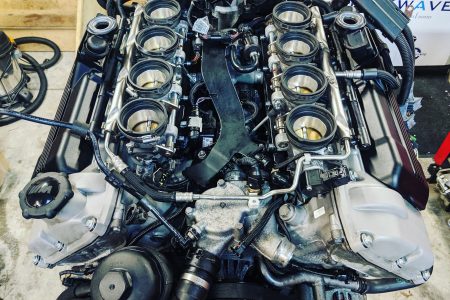
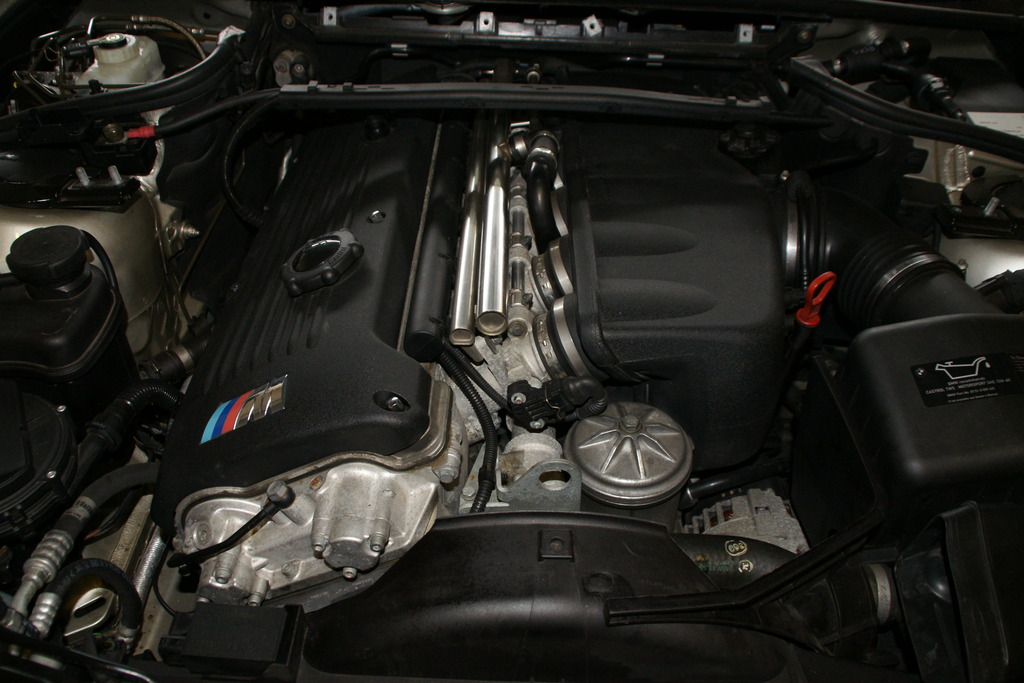
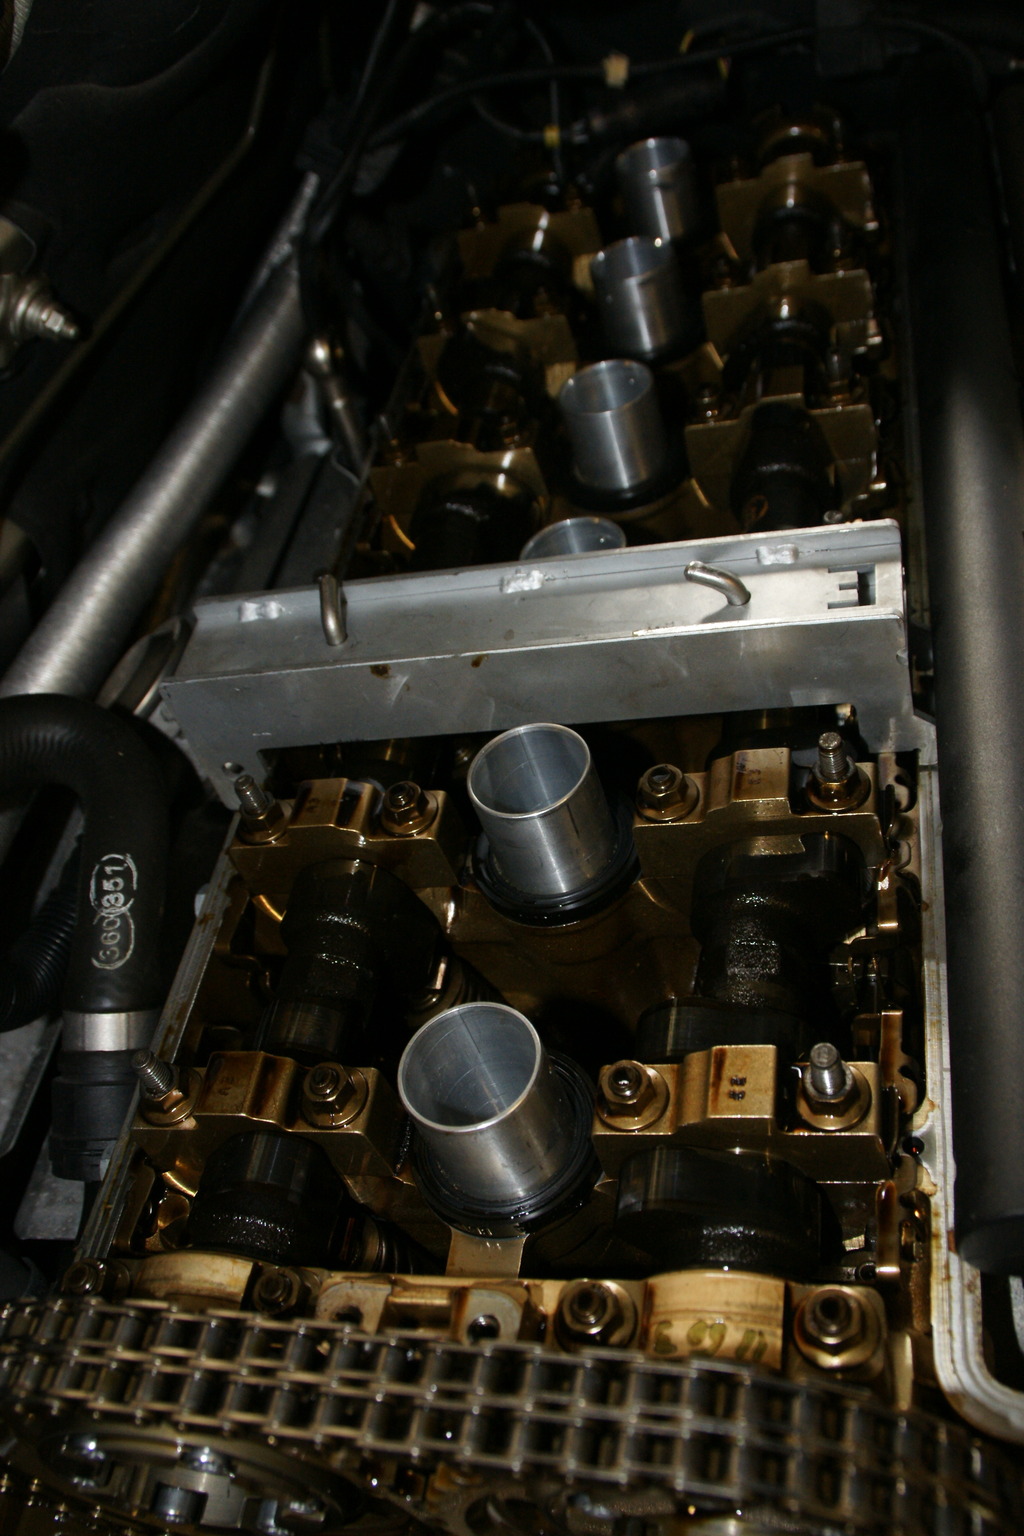
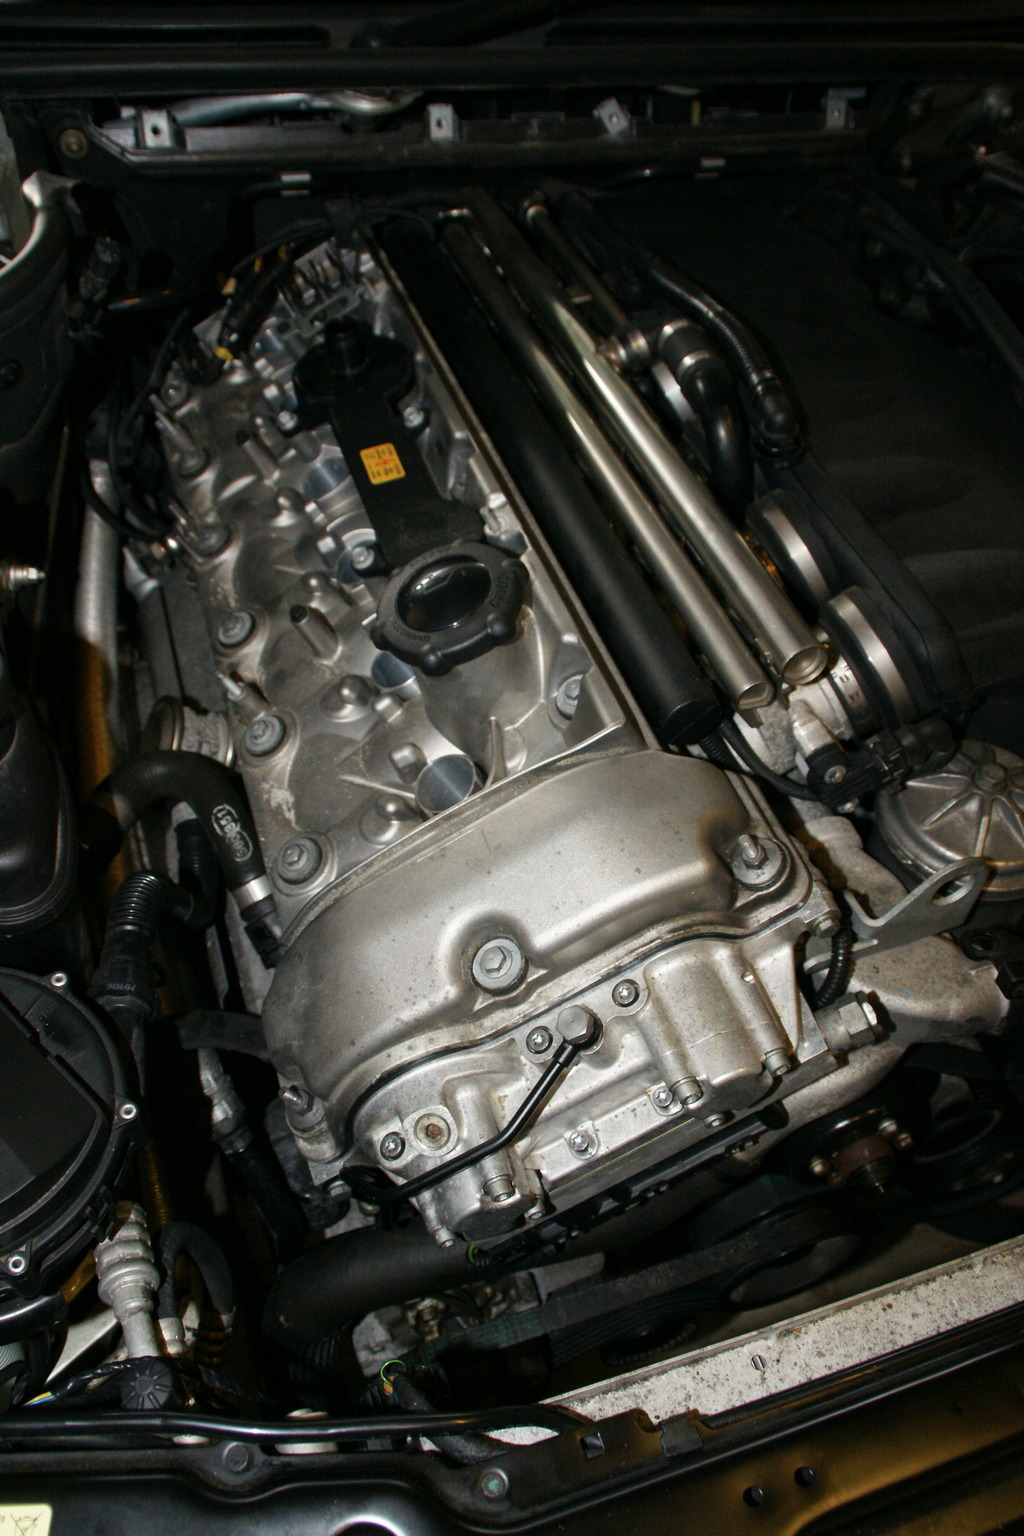
First up, stripdown of the engine bay. Viscous fan and shroud, pollen filter assembly and strut brace.
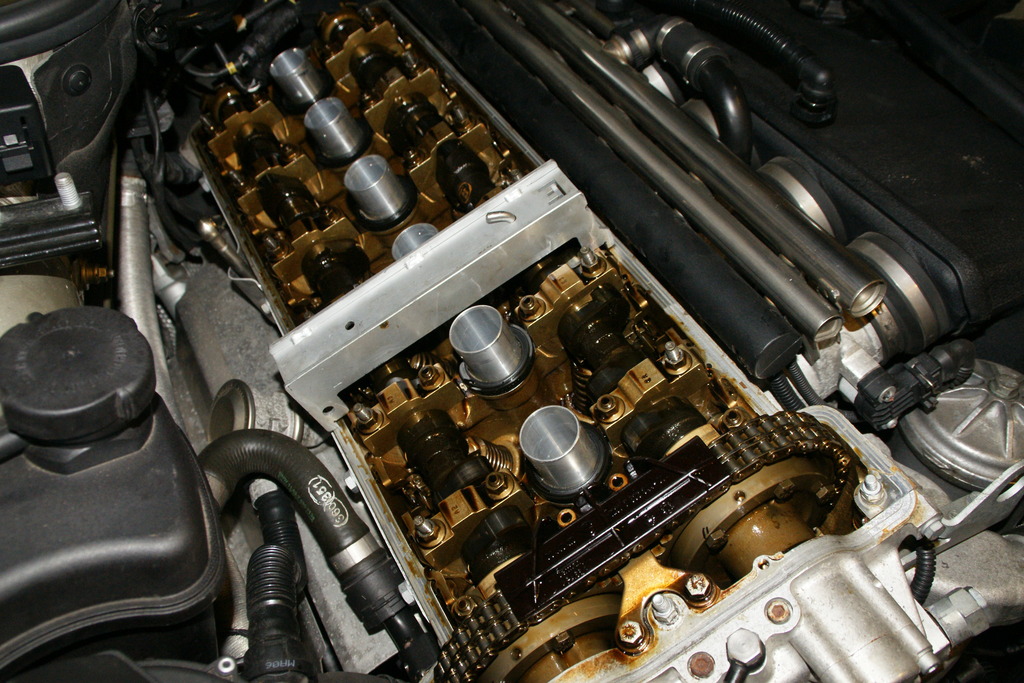
Then rocker cover off – first up, wiring loom and coil packs out.
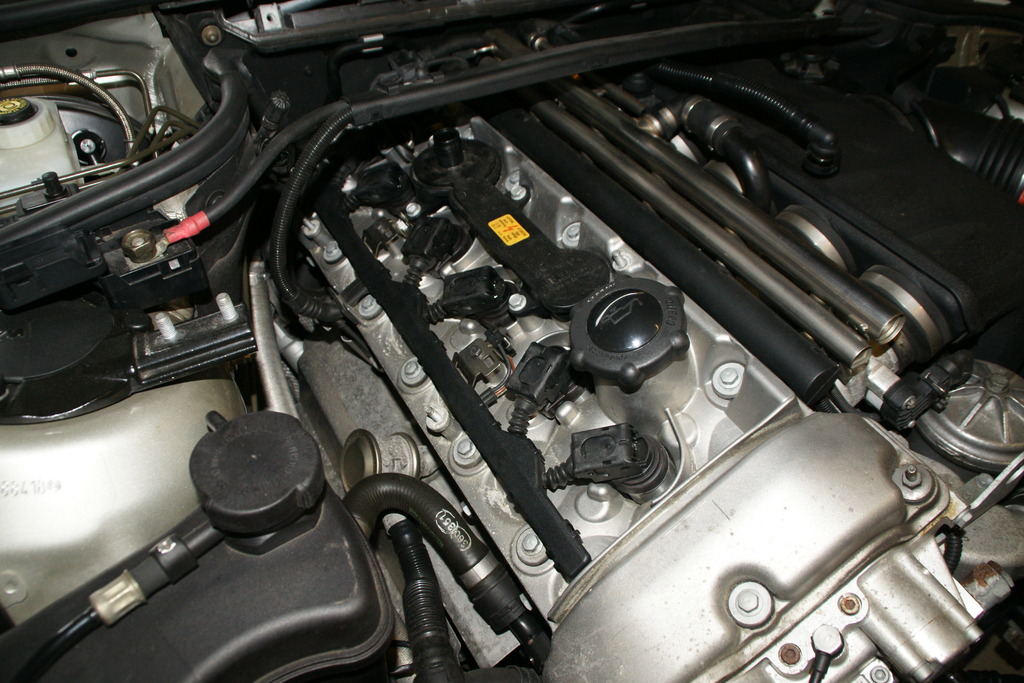
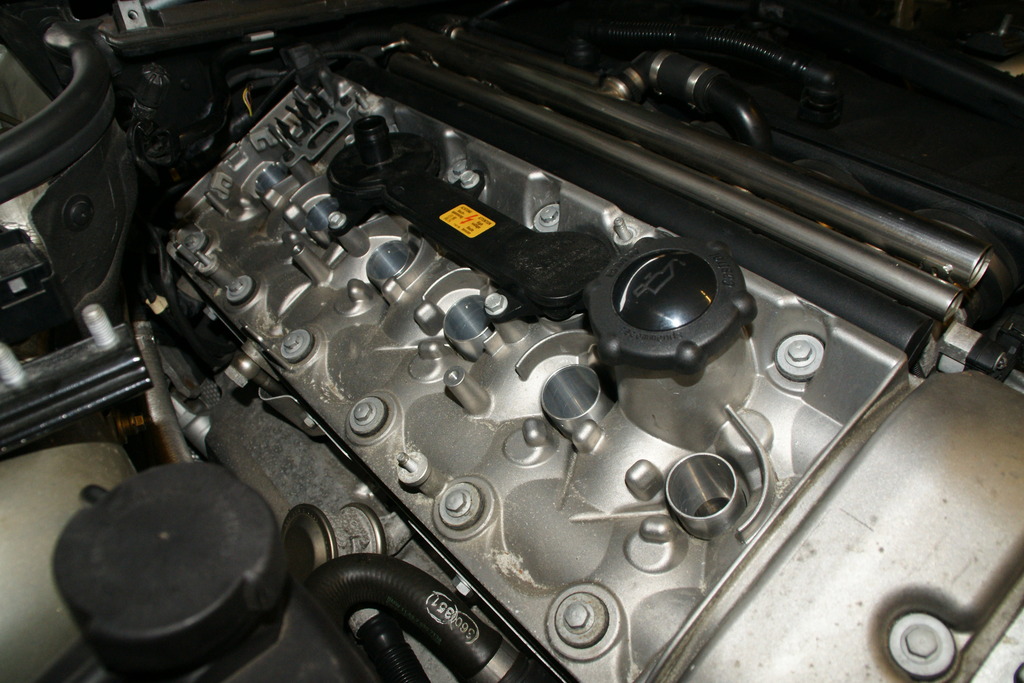
Then rocker cover off.
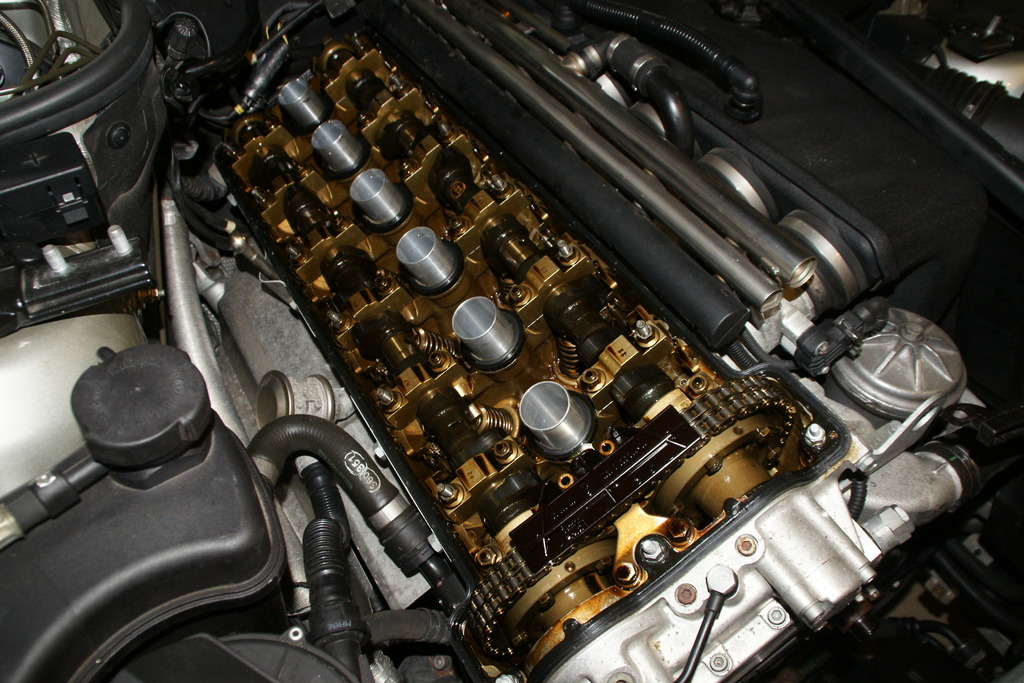
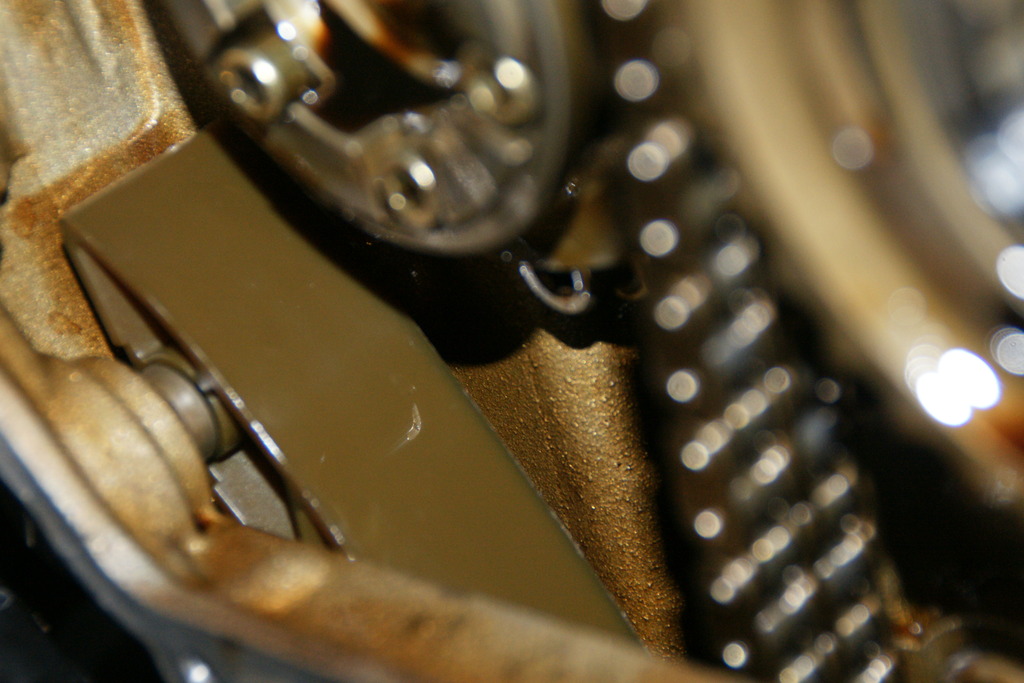
The cam hub bolts were loosened so that the cams could be moved through their sweep into position for locking. However, we found that Steve’s exhaust cam was actually too far advanced. This means that it’s impossible to lock until the Vanos is removed. This was rectified later on. The crank is also locked at this point.
The small bore through the cam should be at 90 degrees with the head, as you can see its too far clockwise (advanced), even with the cam turned to the most retarded position possible.
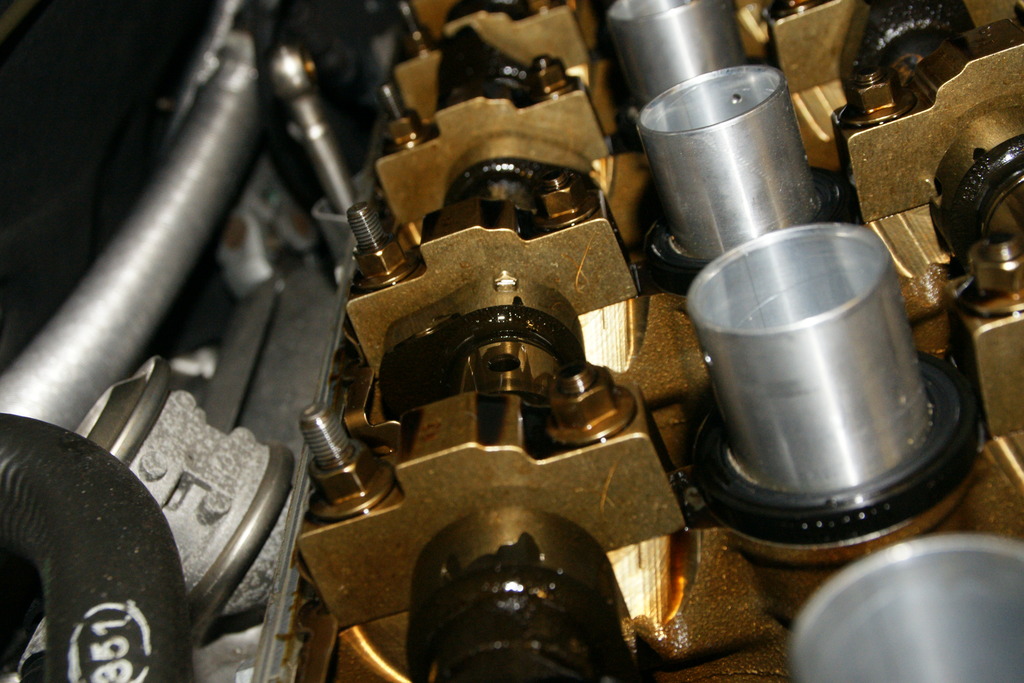
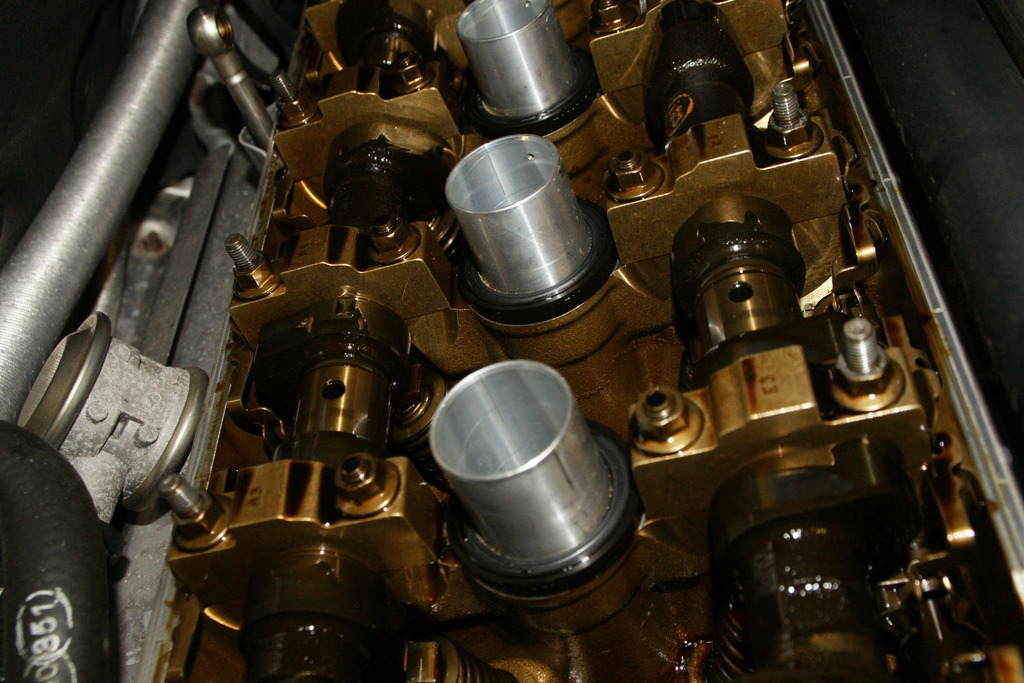
Onto locking the engine. The crank is already locked as previously mentioned, so time to lock the inlet cam at least! As you may notice we don’t use the genuine BMW tool – I find this one to offer less movement of the pins for an even more accurate timing of the engine.
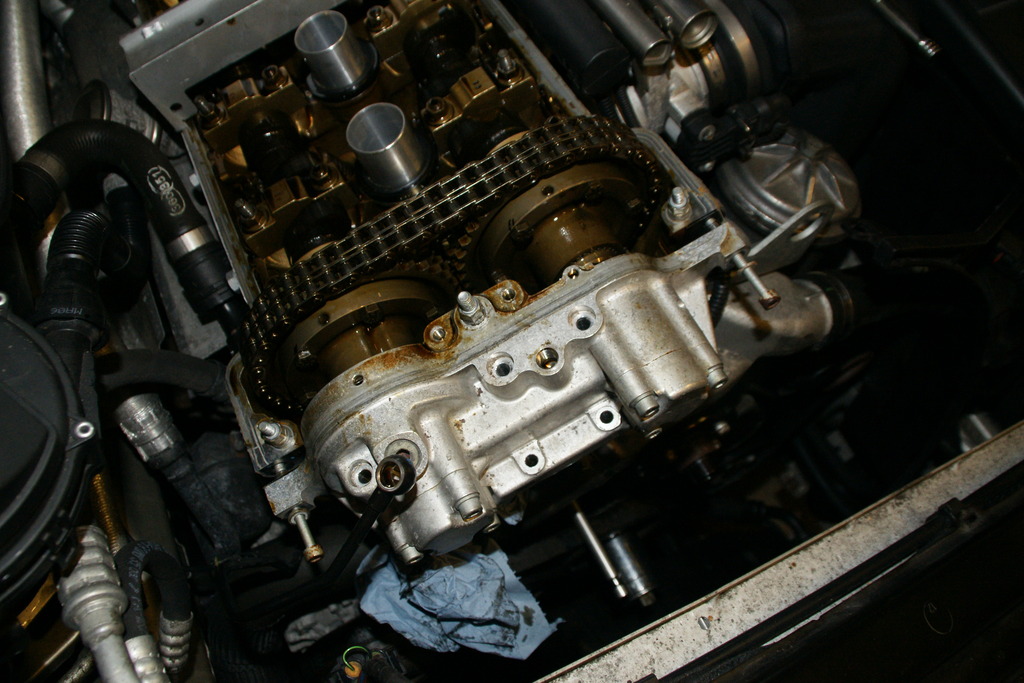
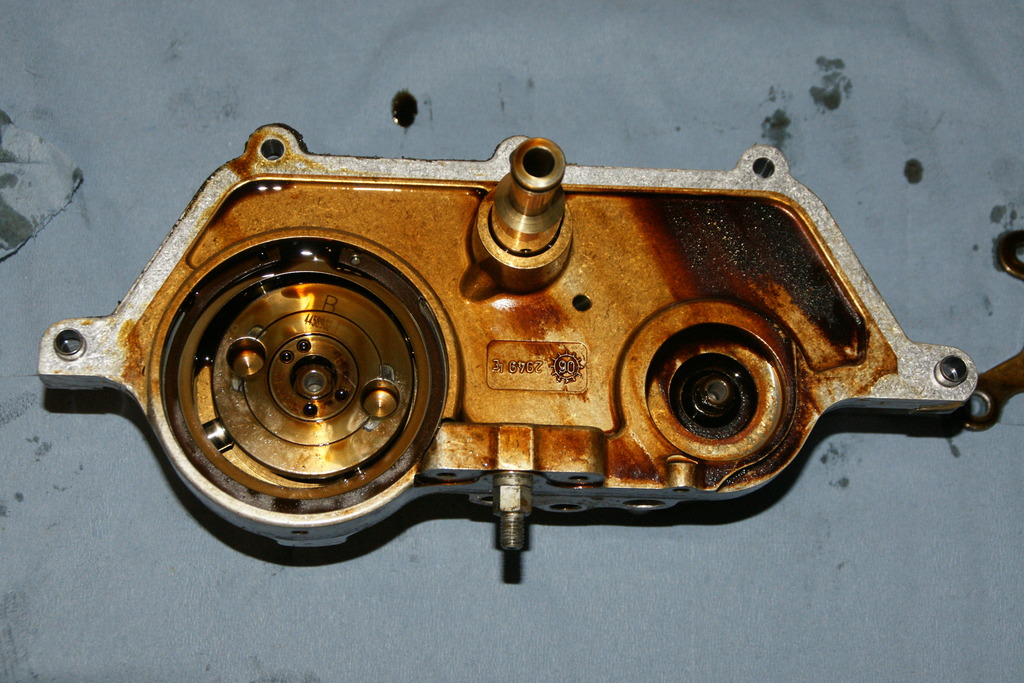
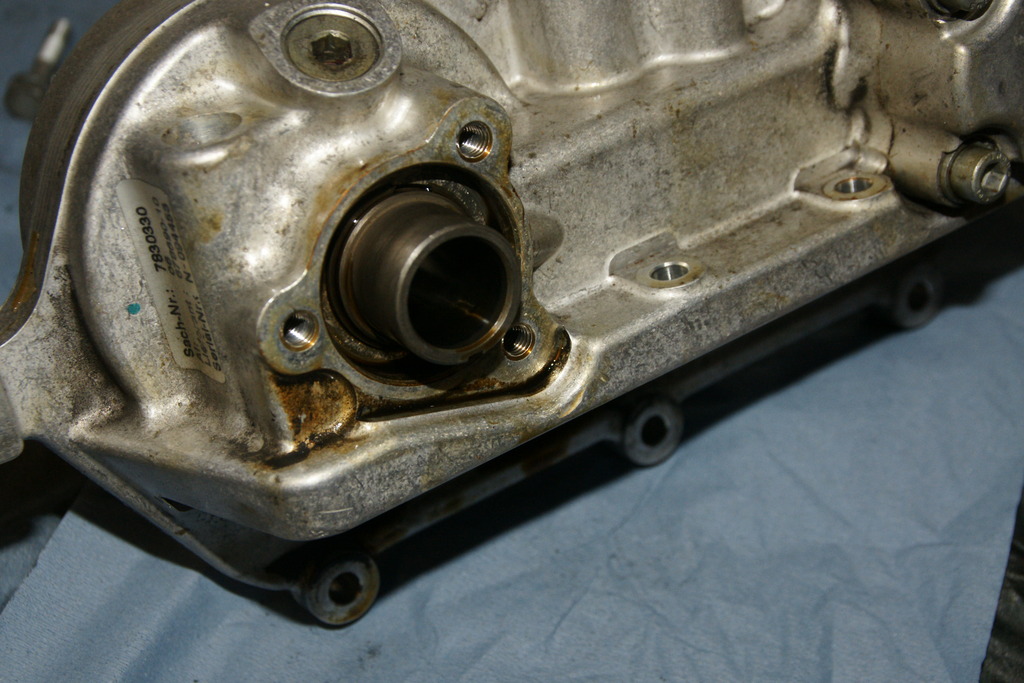
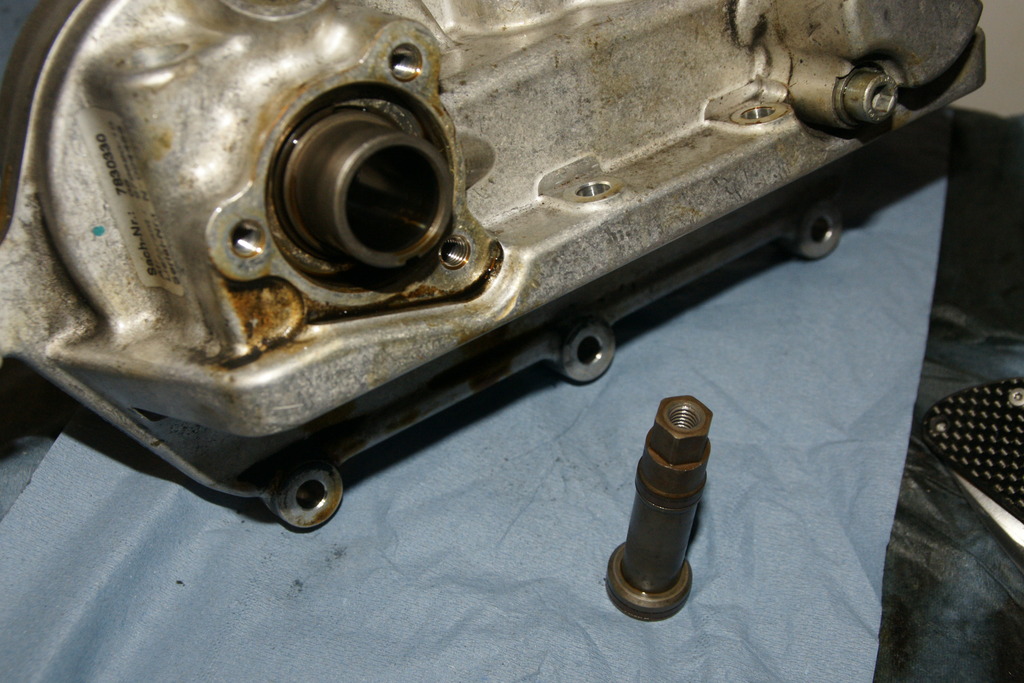
Vanos oil feed pipe and solenoid pack off, then Vanos off time!
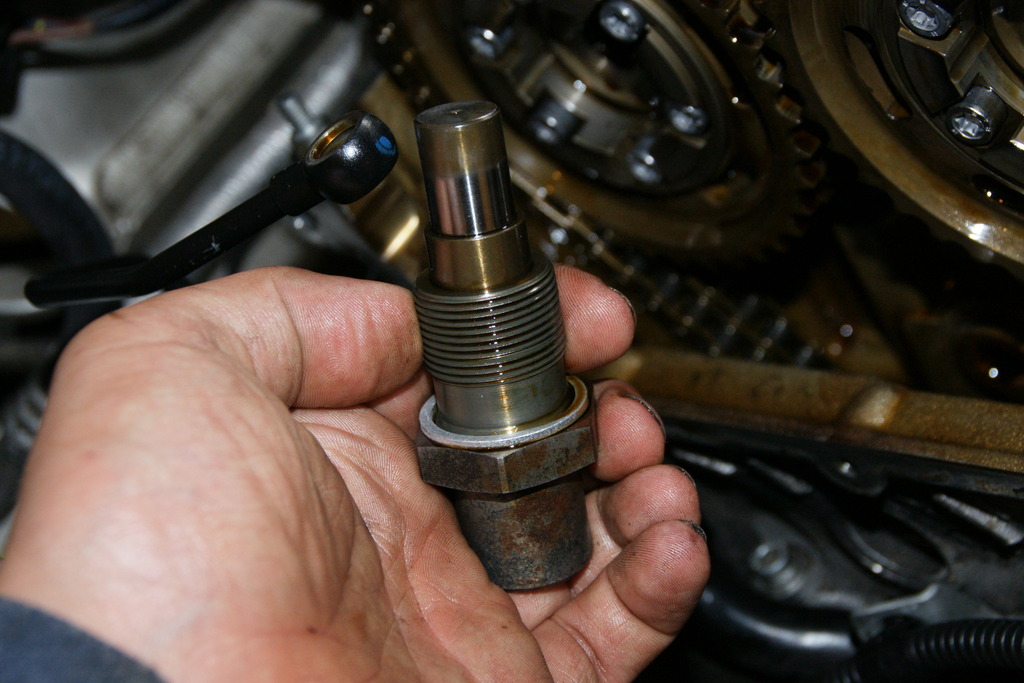
From here the Vanos shafts can be un-done (7mm and 10mm spanners, reverse thread), leaving the splined shafts in the hubs for now.
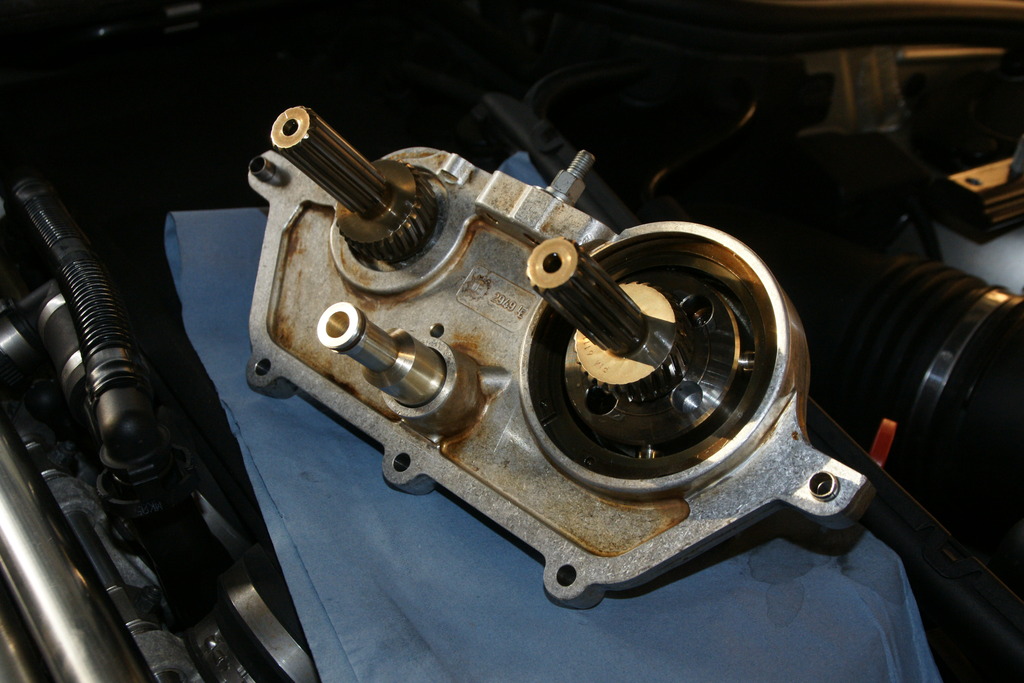
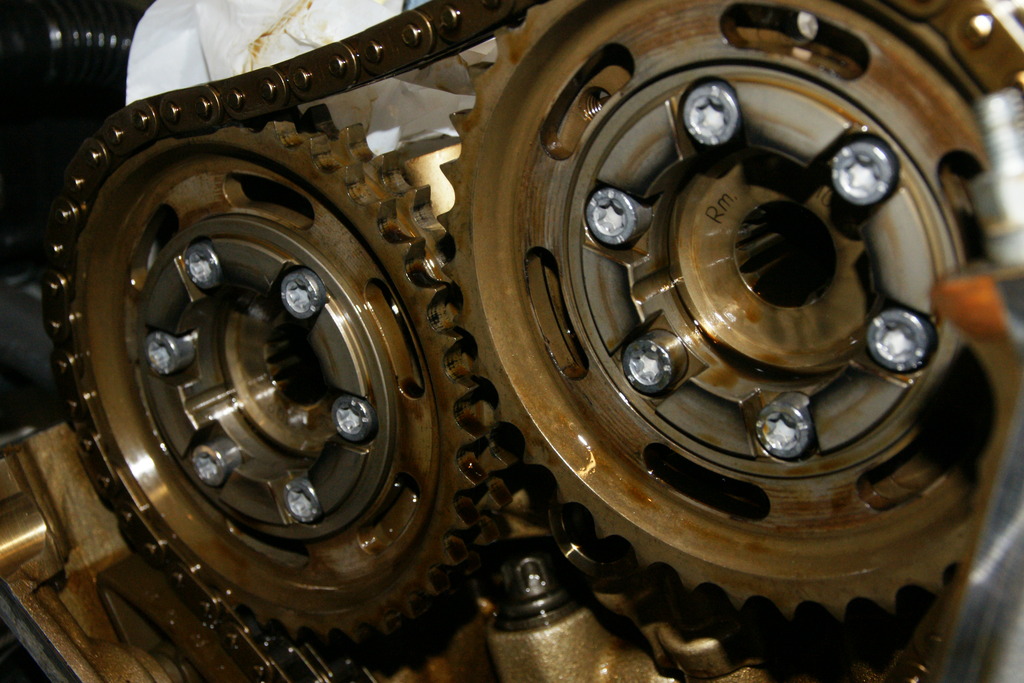
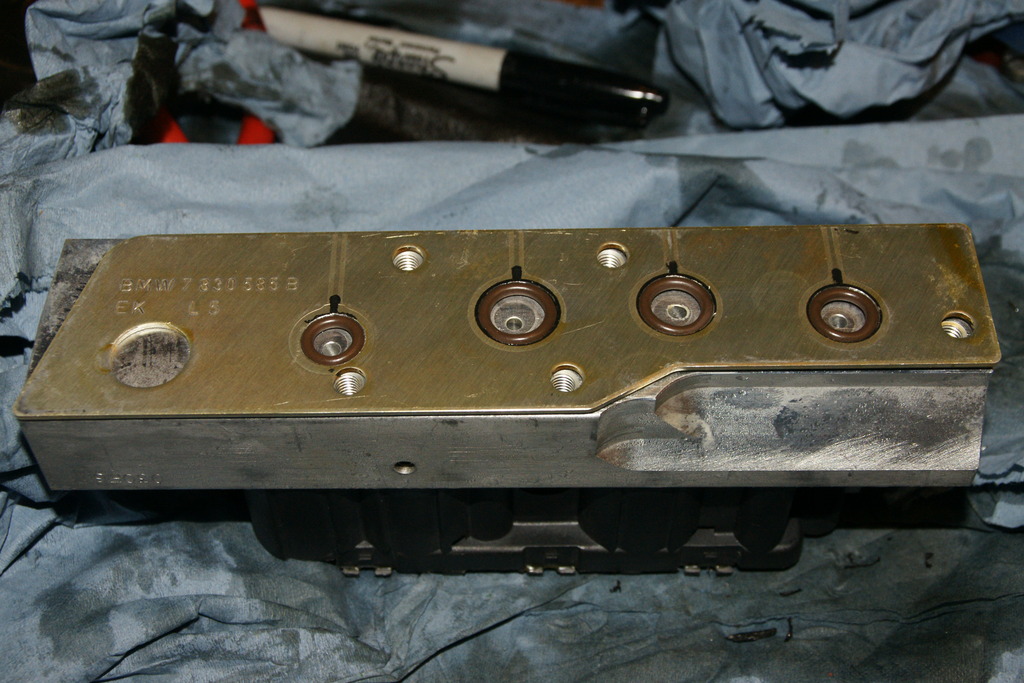
Vanos off, ready for cleaning.
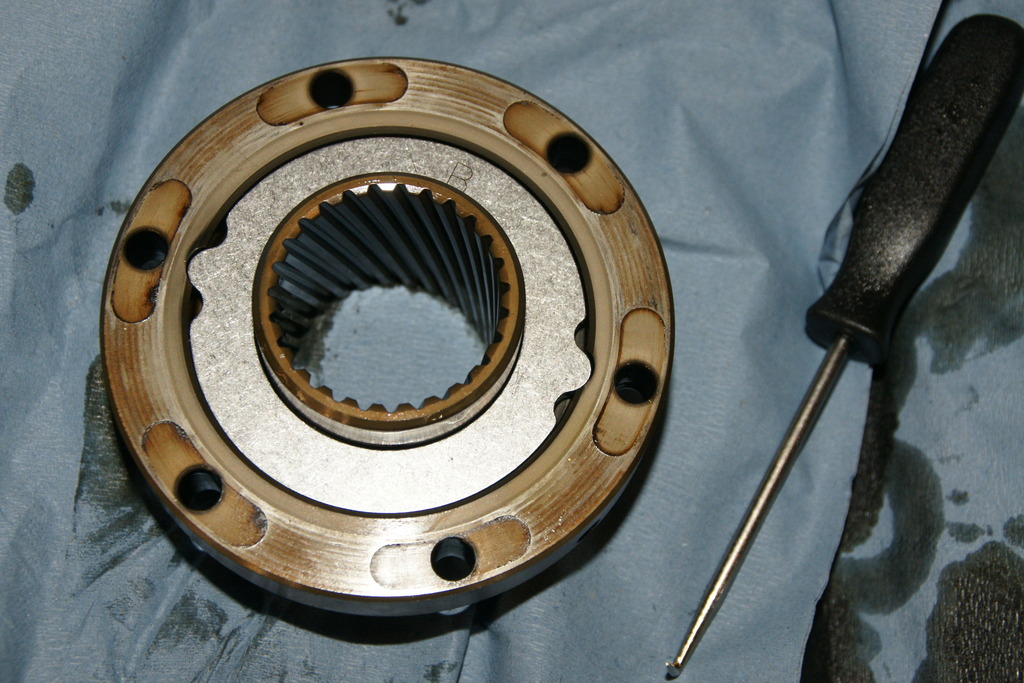
Oil pump disc wear was fairly minimal. Steve’s a lucky one!
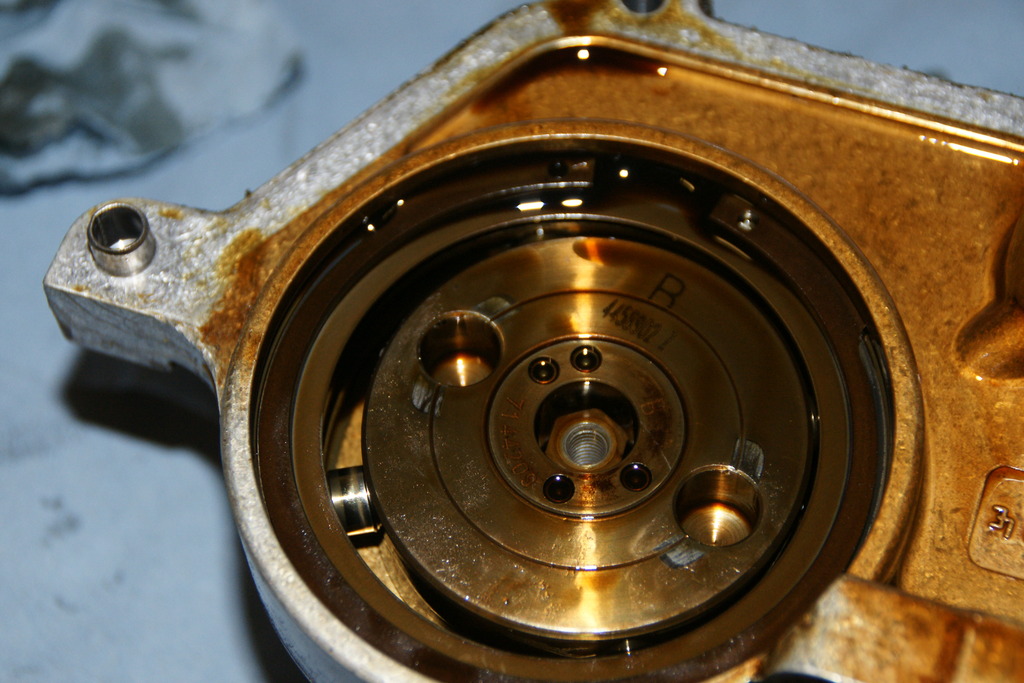
Time to rebuild the Vanos unit, first up oil pump disc. Our machined ones have new, smaller bores, which stop the play issue which often ends in failure.
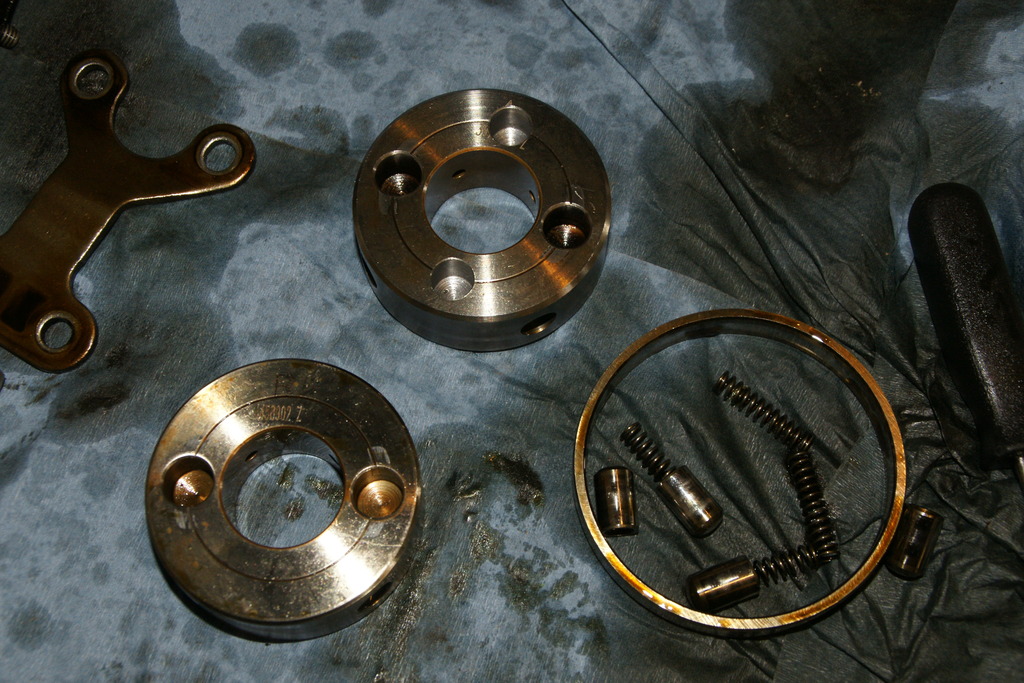
Ready for the retaining washer and circlip to be refitted.
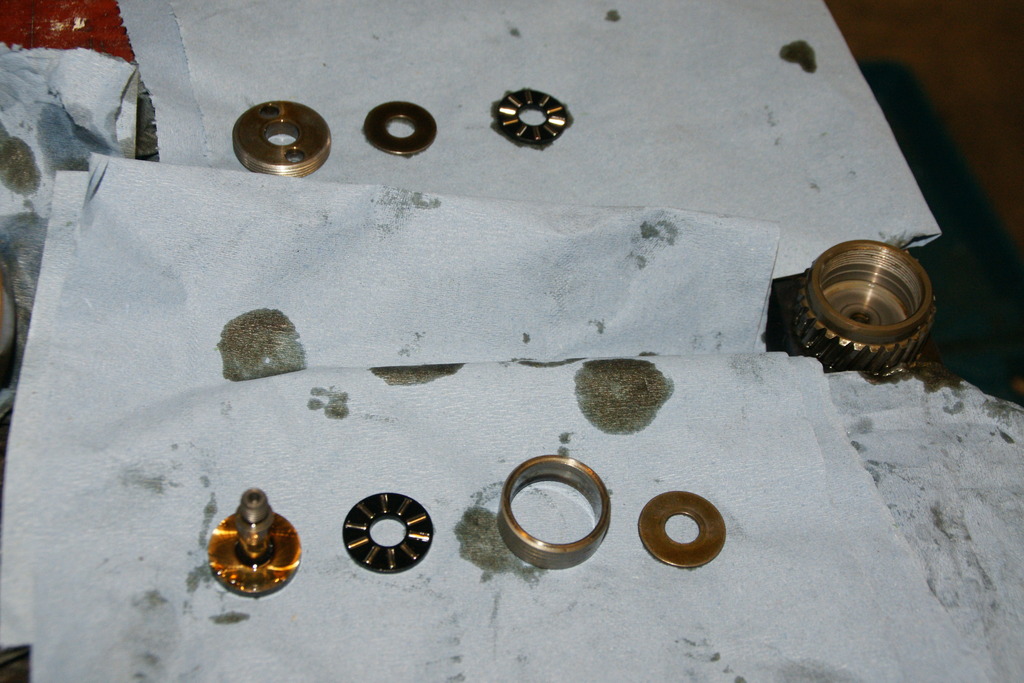
Then onto replacing all of the seals in the unit.
With that all done, the hubs and splined shafts were removed from the cams ready for rattle repair. These were disassembled, fastidiously cleaned (the BMW thread lock makes a terrible mess, and dirt does seem to get trapped in these parts), and rebuilt with the Beisan Systems rattle repair kit.
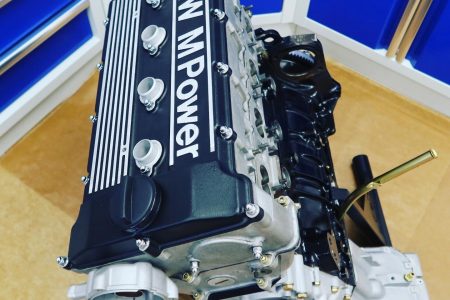
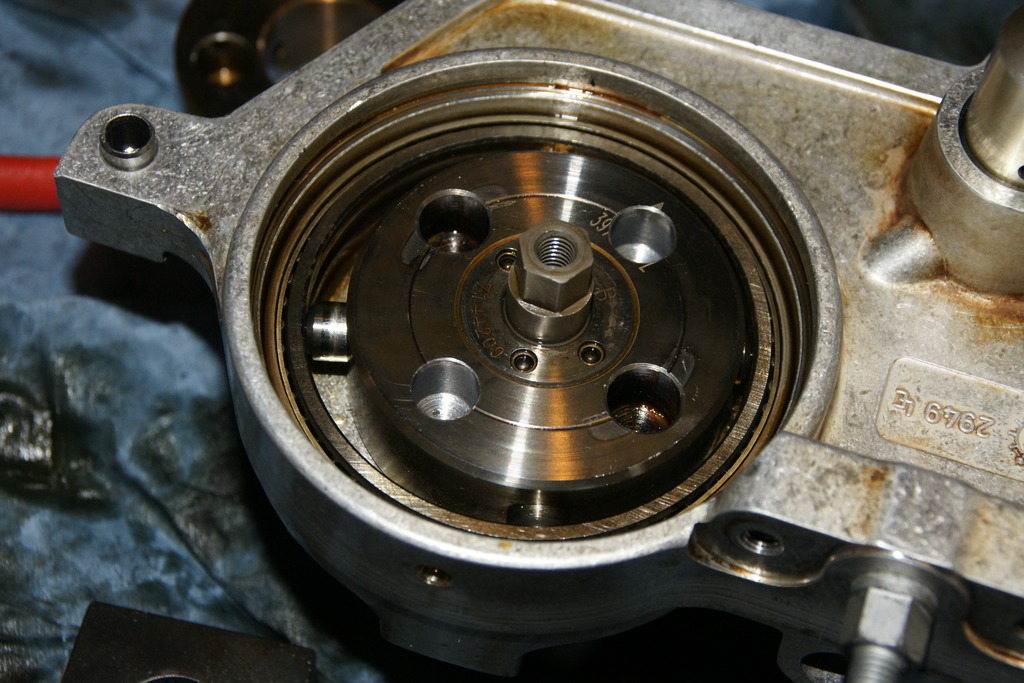
Fully rebuilt Vanos unit, ready for refitting.
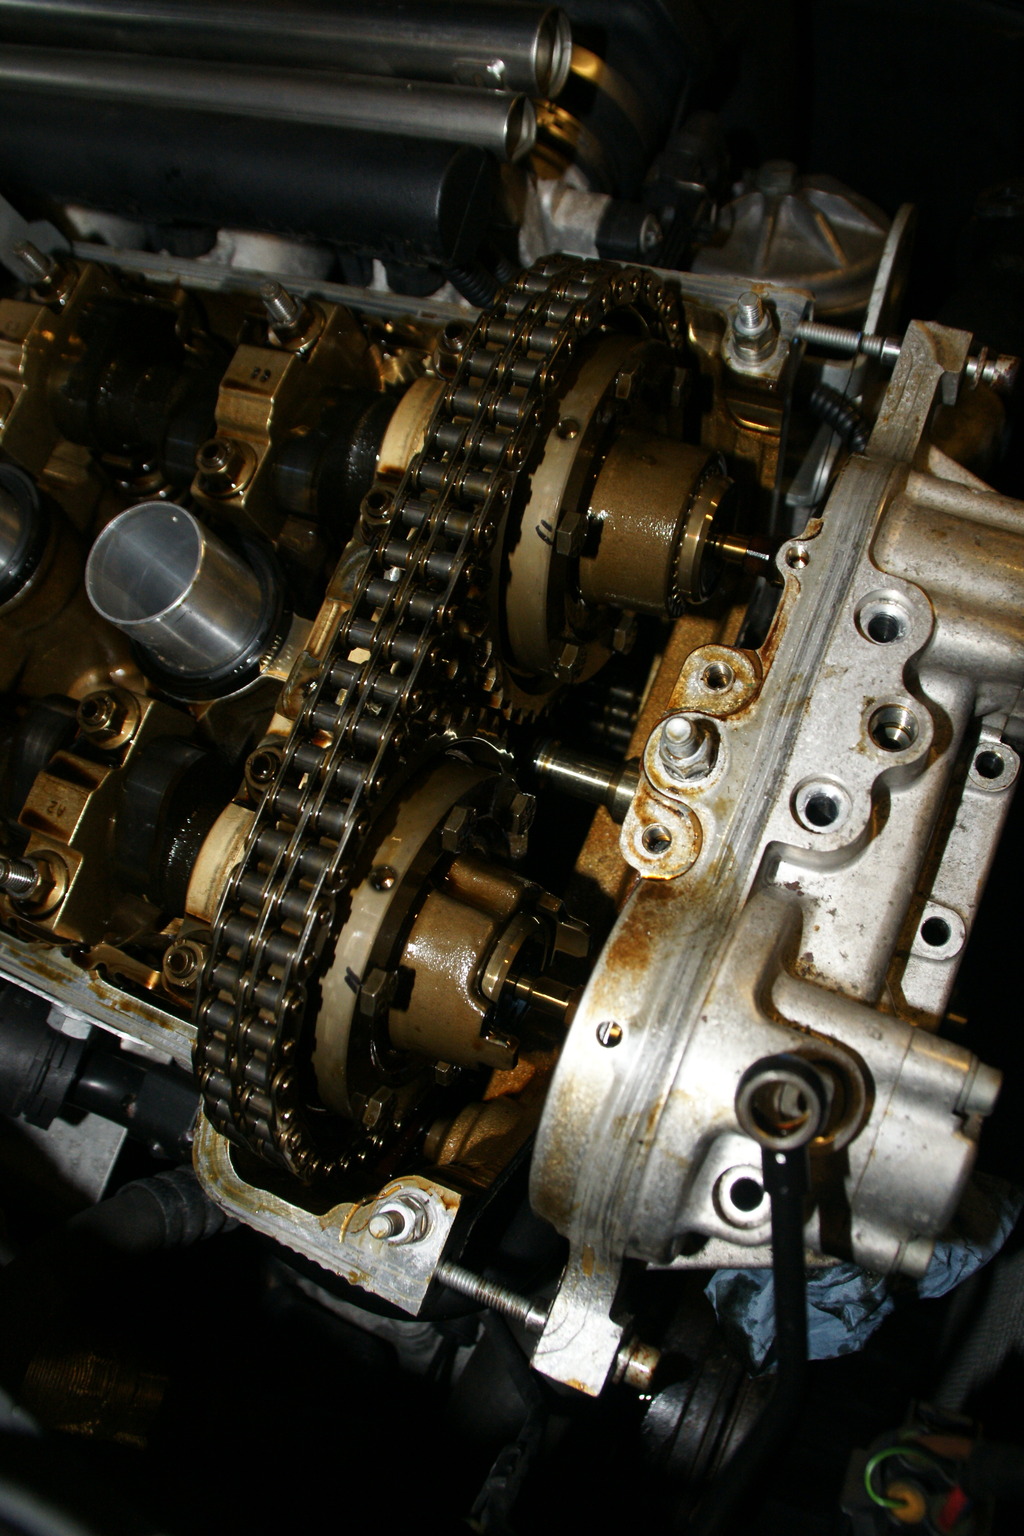
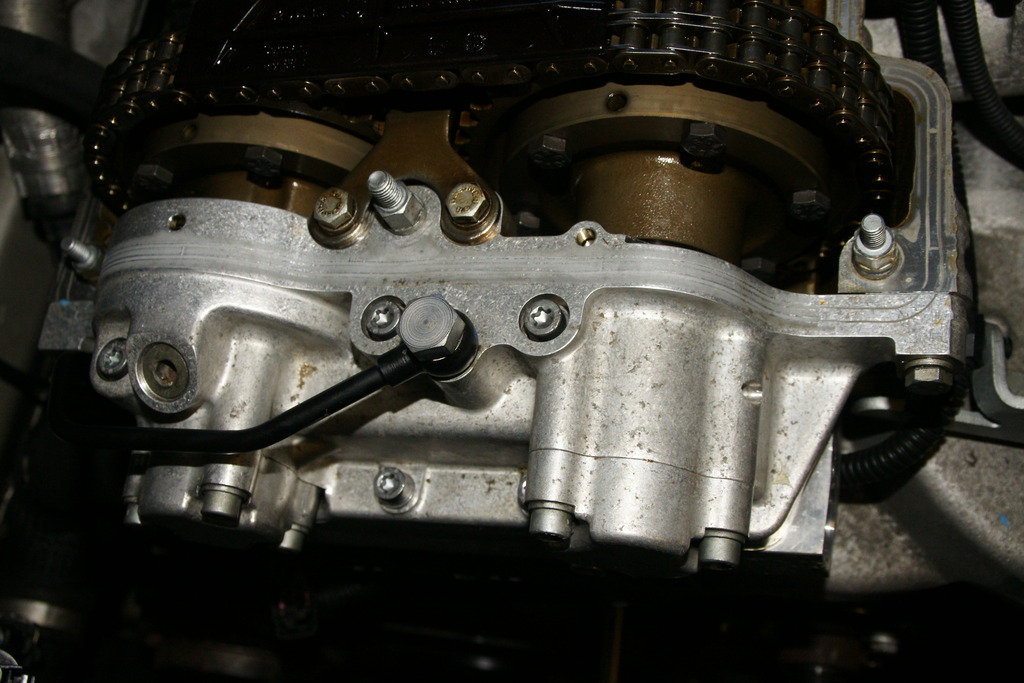
Before that, the upper chain tensioner guide was removed and replaced with a new BMW one, along with the sealing washer. The old one wasn’t showing any bad signs of wear, but good to replace anyway.
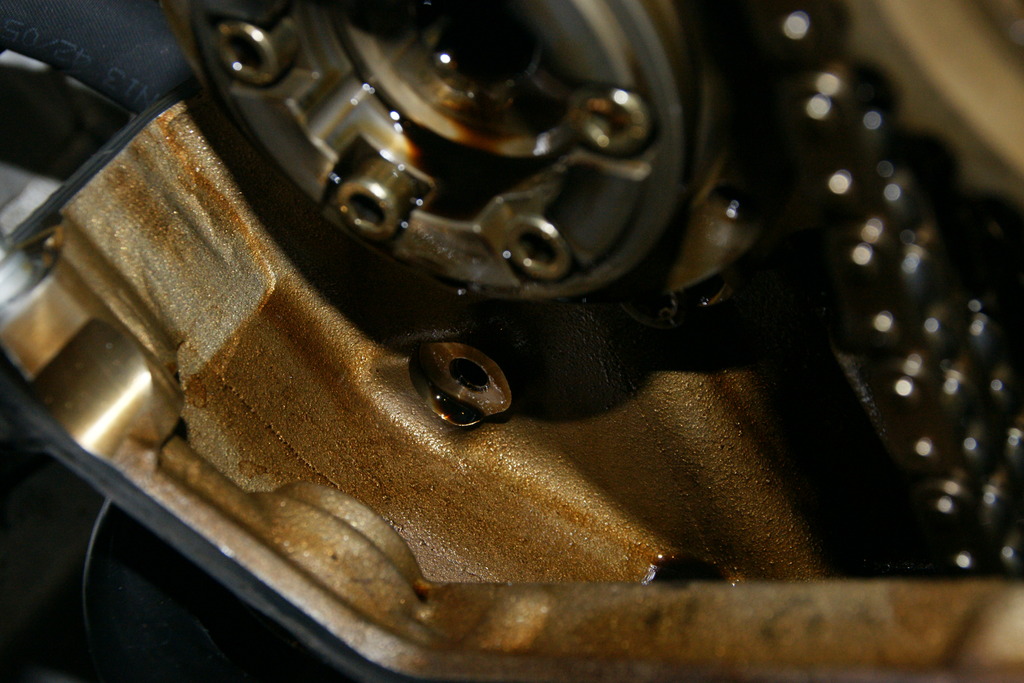
New one lubed with some Castrol before being refitted.
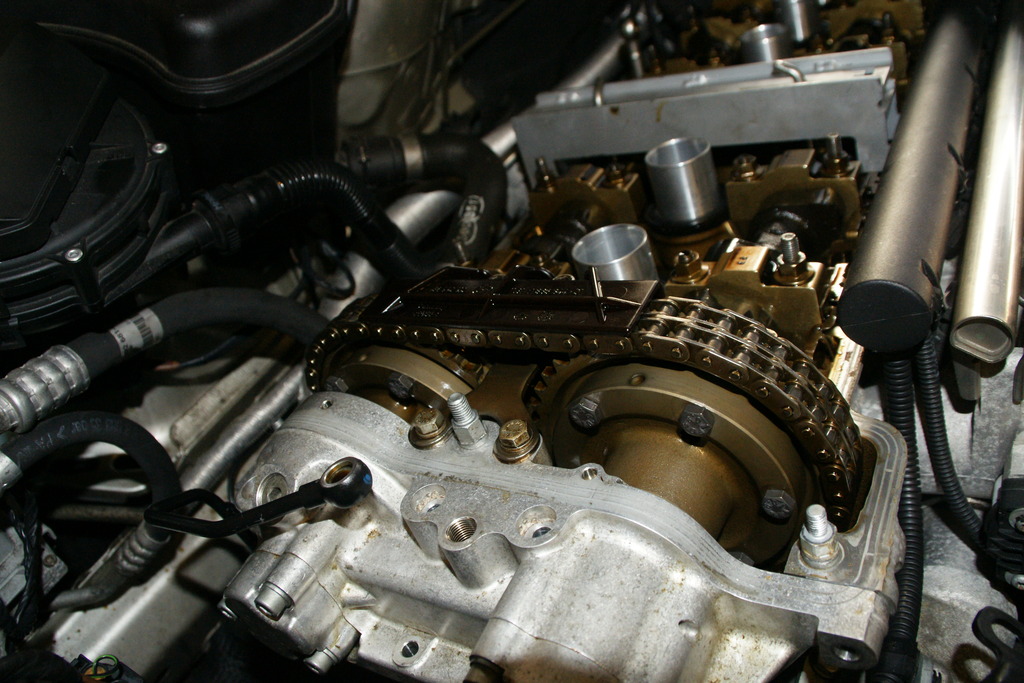
Chain back on (no tensioner yet), time to replace the sprocket sleeve bolts. These are known for backing-out, but were updated by BMW. The old ones are a 5mm allen head, the new ones are T30 Torx. A couple of the old ones were loose, new ones refitted with threadlock.
It was at this time that the exhaust cam was moved into the correct position and locked.
New chain tensioner seal, then that was refitted.
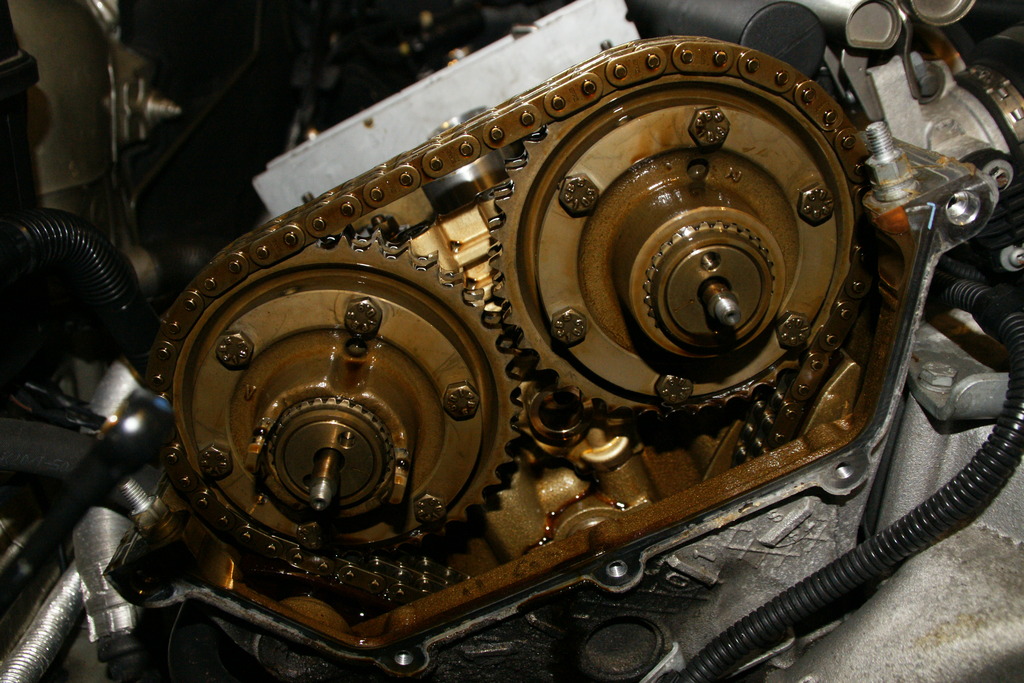
The cam hubs were then cleaned and treated to S62 Diaphragm Springs, which are an upgrade and help reduce rattle.
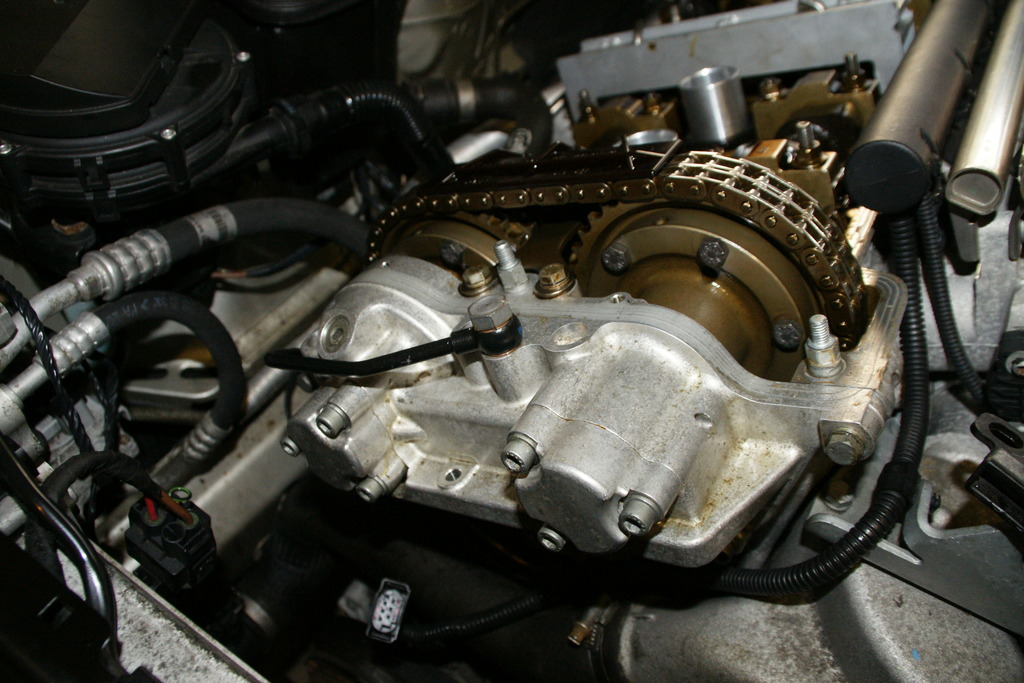
These were then mounted to the sprockets with new bolts, and then it’s time to re-mount the Vanos, with a new gasket. It’s this bit that people often get wrong!

Upper chain guide re-fitted.
Vanos oil feed banjo re-fitted with new crush washers, and the Vanos mounting bolts refitted.
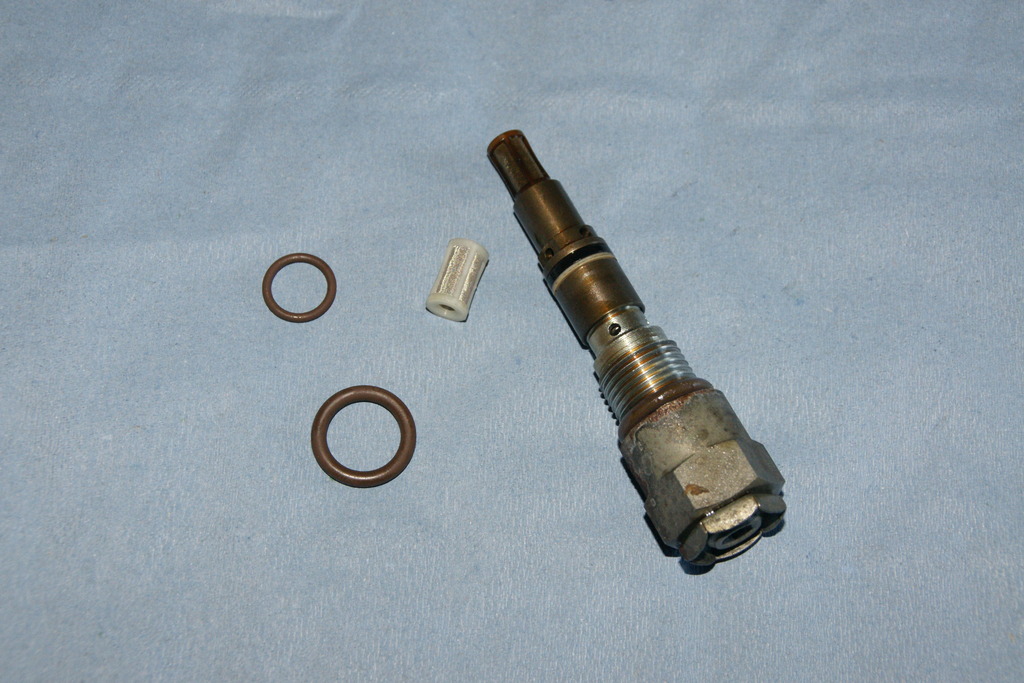
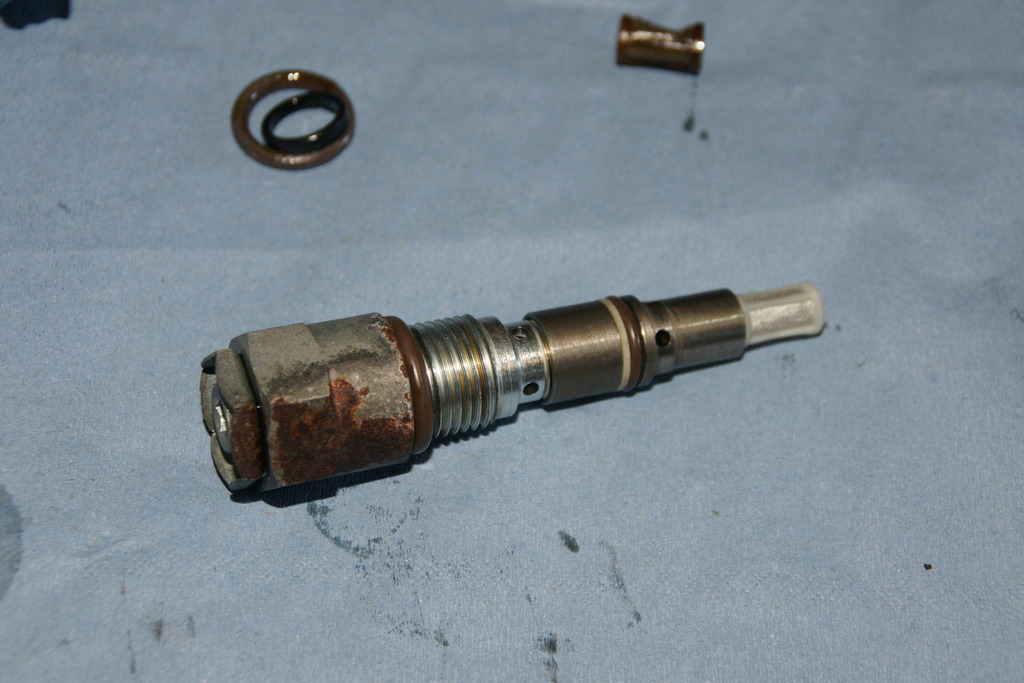
Then it was time to give the solenoid pack its clean-out before re-fitting. To do this you use magnets to open and close the valves to allow proper cleaning. The Beisan rebuilt solenoid coil pack was then installed too.
The sealing plate had its old seals cut-out and the Beisan ones fitted in place.
This was then re-fitted with the updated (again now Torx) bolts, plugged in and then the cable was tied in place.
The final part of this is replacing the microfilter and associated O-rings. The filter is a BMW part, the O-rings are part of the Beisan package. We also sell these as the Hack Engineering S54 Vanos Microfilter Service Kit.
This was then fitted. The cam hub bolts were tightened and the engine was turned over by hand 4-5 times before the timing was re-checked. With this spot on, the rocker cover was then refitted with a new BMW gasket and front corner grommets.
The wiring loom was then refitted and the coil packs went back in – these were removed in order and refitted as such.

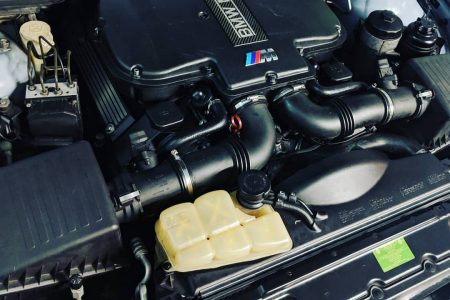
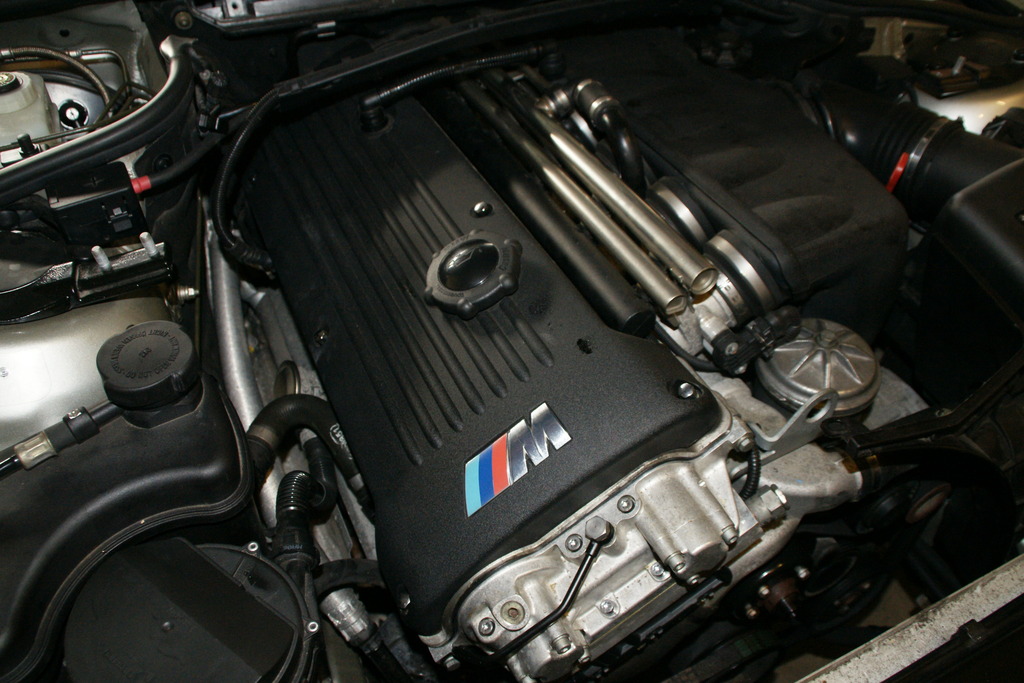
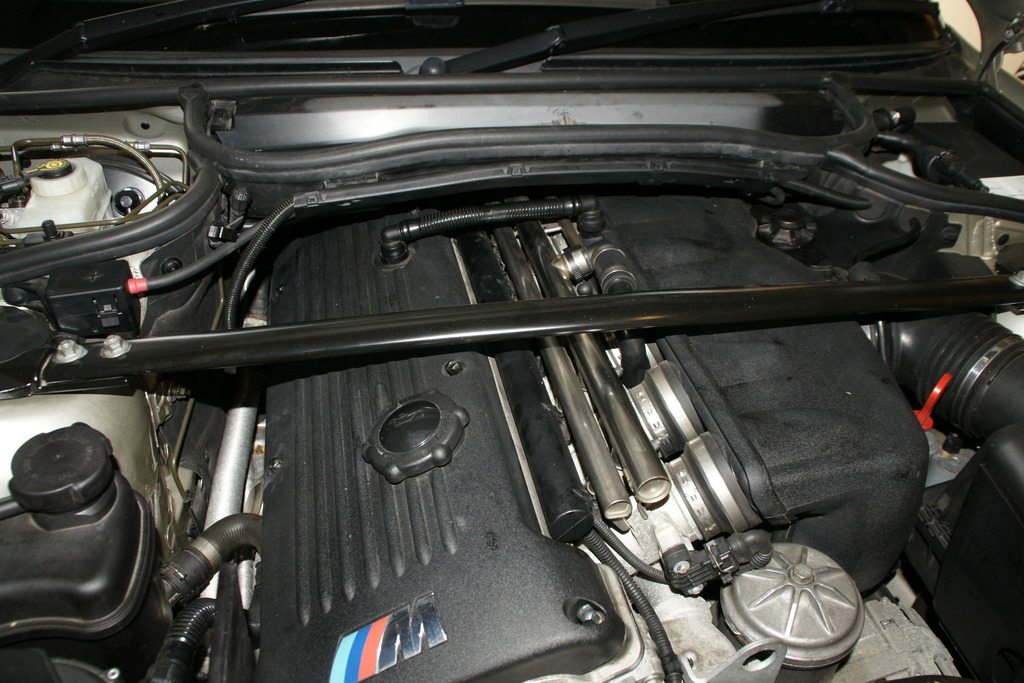
Engine cover back on, cleaned after this pic. Steve’s car was missing one of the nuts for this, so one was removed from our own S54 E36 to finish it off nicely.
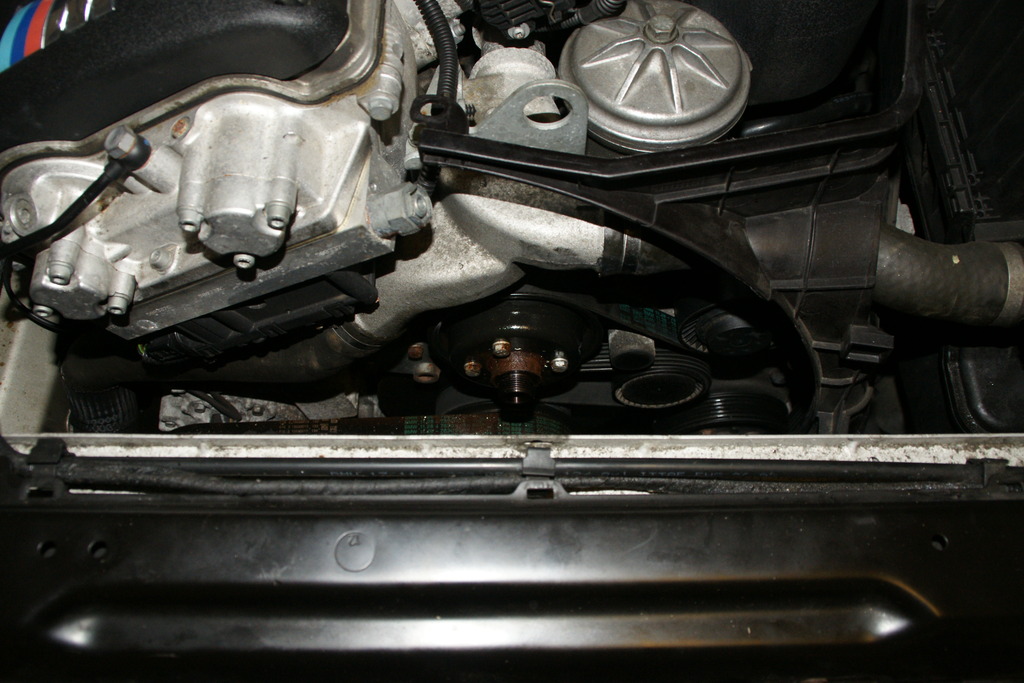
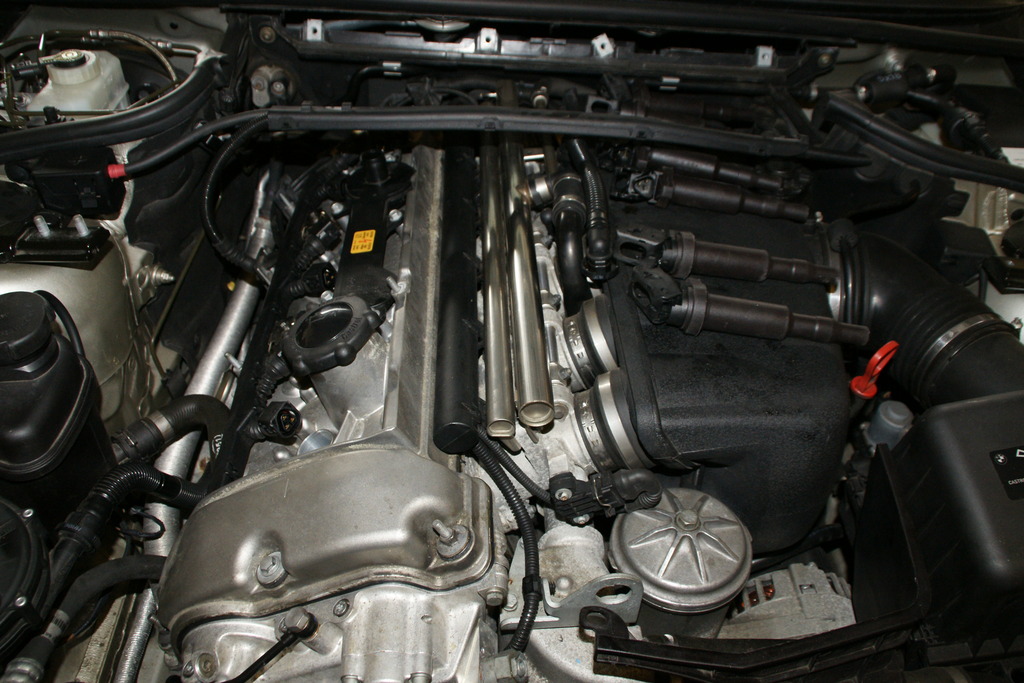
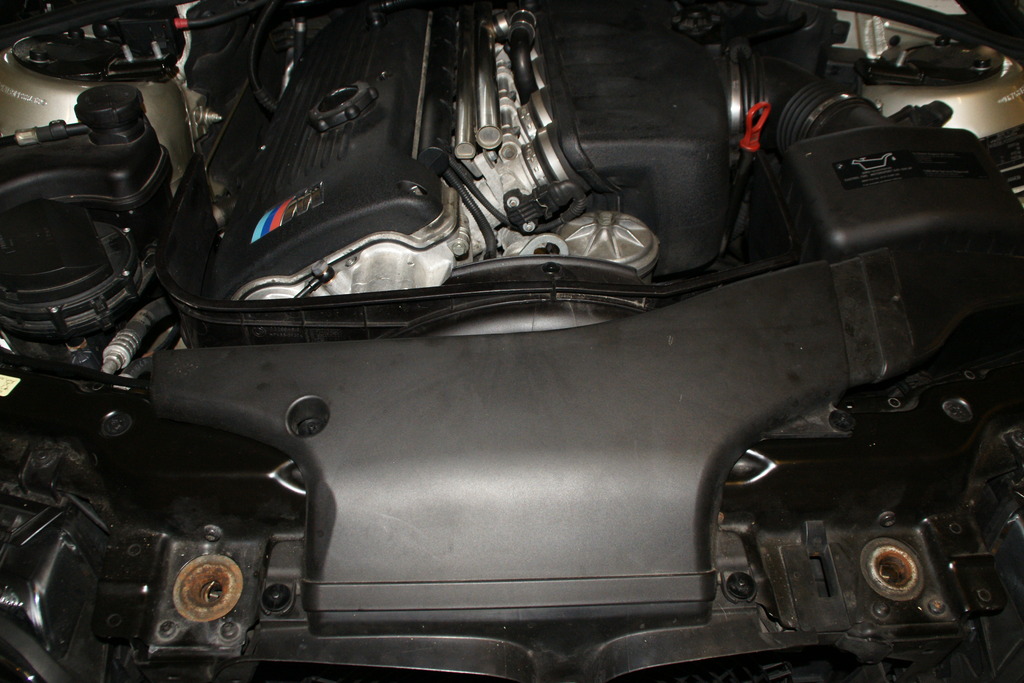
The engine bay could then go back together – pollen filter and housing first.
Then fan and shroud, followed by undertray.
Finally, air intake and strut brace, before a good clean of everything.
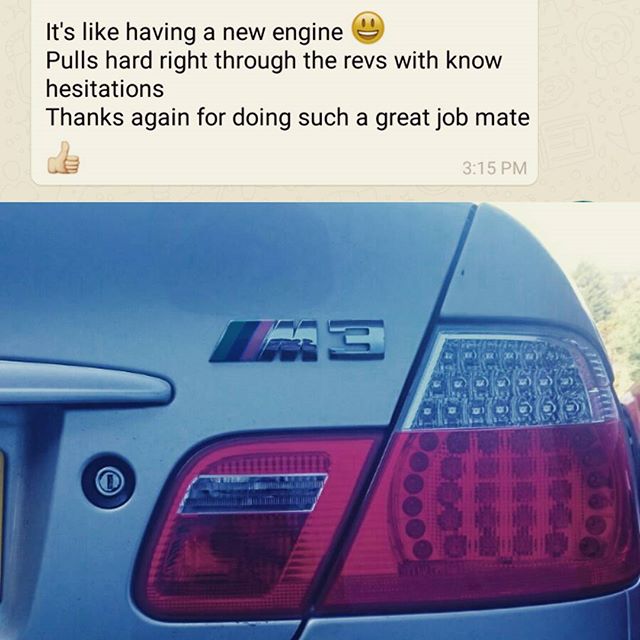
The engine can then be started – Steve’s fired straight up and settled into a steady idle, with everything mechanically quiet and happy. The oil was topped up, and a quick test drive confirmed that everything is functioning as it should, with no errors. The seals take some time to bed in but it already feels stronger at low and mid-level revs.
Once it had been picked up we were happy to receive great feedback from Steve – another happy customer.
All of the above parts are available through the website using the links throughout, or found in our Vanos section.